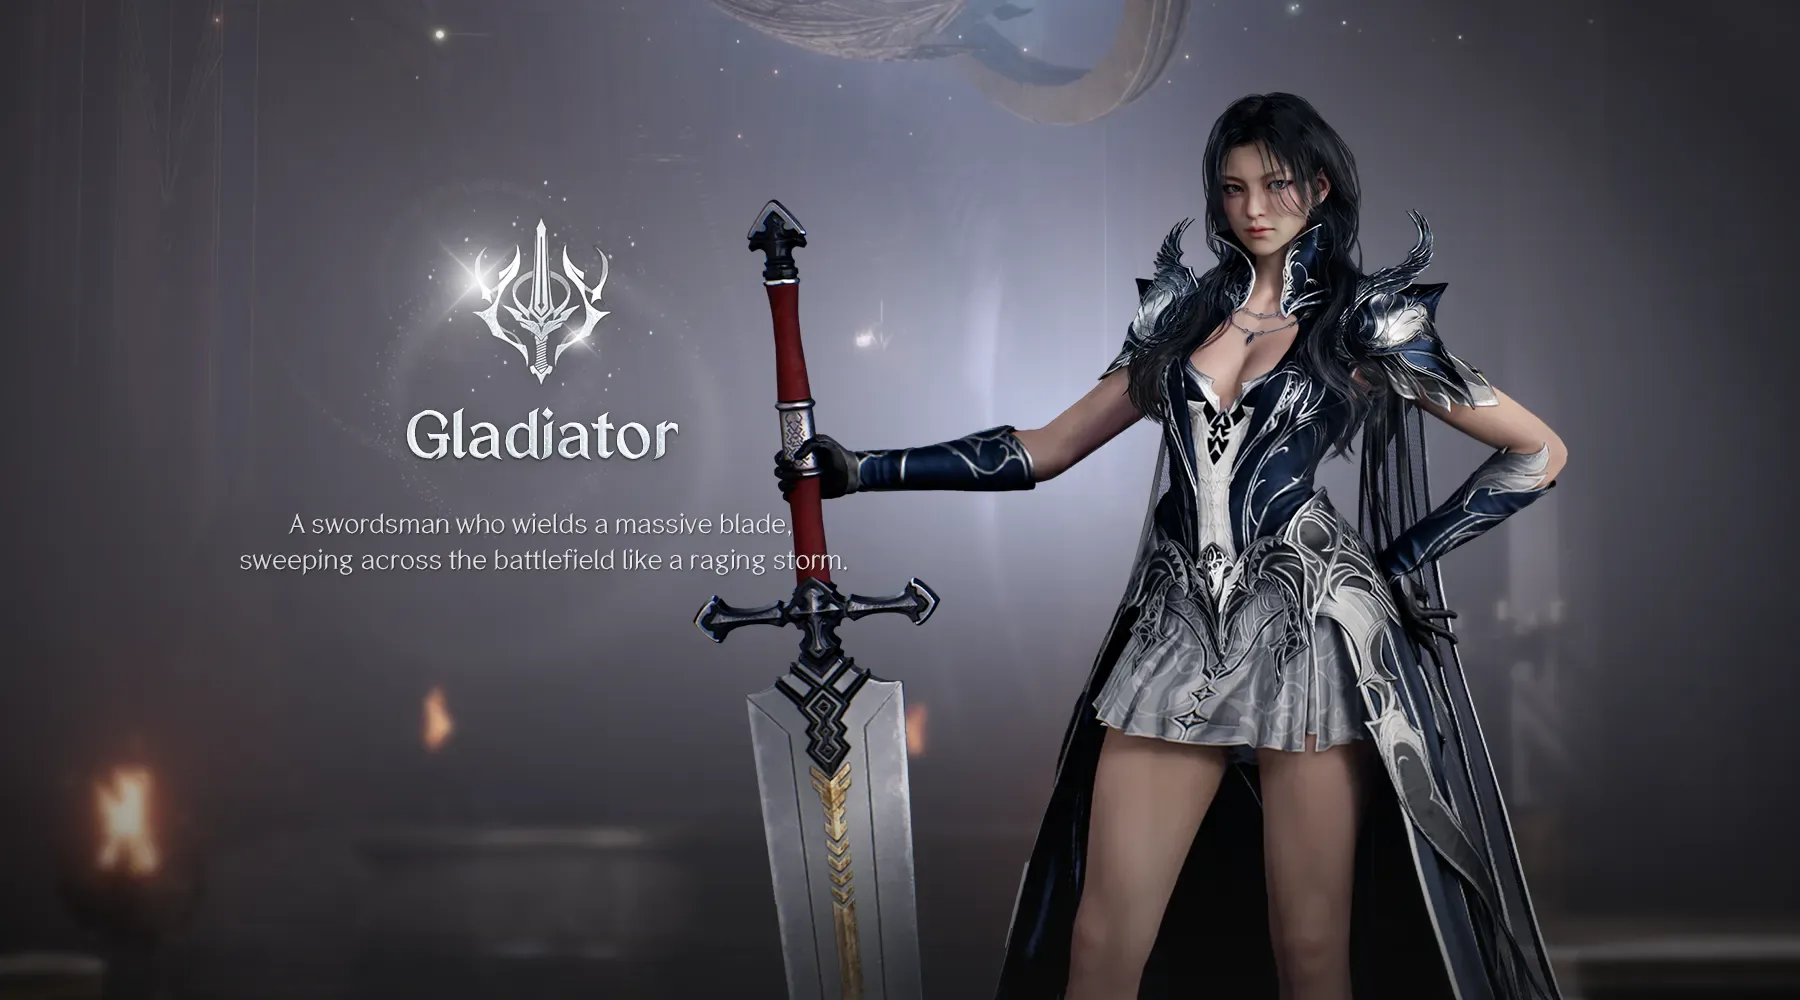
AION 2 Gladiator is a greatsword frontline fighter with sustained damage, conditional Knockdown follow-ups and self-recovery. It can help tank, but safe contact and deliberate defense remain essential.
This Global guide is current to October 10, 2026. It focuses on how to read a fight and fulfill a party responsibility. Exact Stigma loadouts and equipment priorities belong to the dedicated build guide. Here, the important questions are why a skill becomes available, when to preserve movement and how to avoid turning useful sustain into unnecessary damage taken.
Recognize the greatsword frontline role
Gladiator attacks at close range, uses area damage and creates opportunities through Knockdown. Keen Strike and Rending Blow generate Enmity as well as contributing attacks. Its recovery and defensive tools allow it to stay engaged, but they do not make every encounter safe to fight without movement.
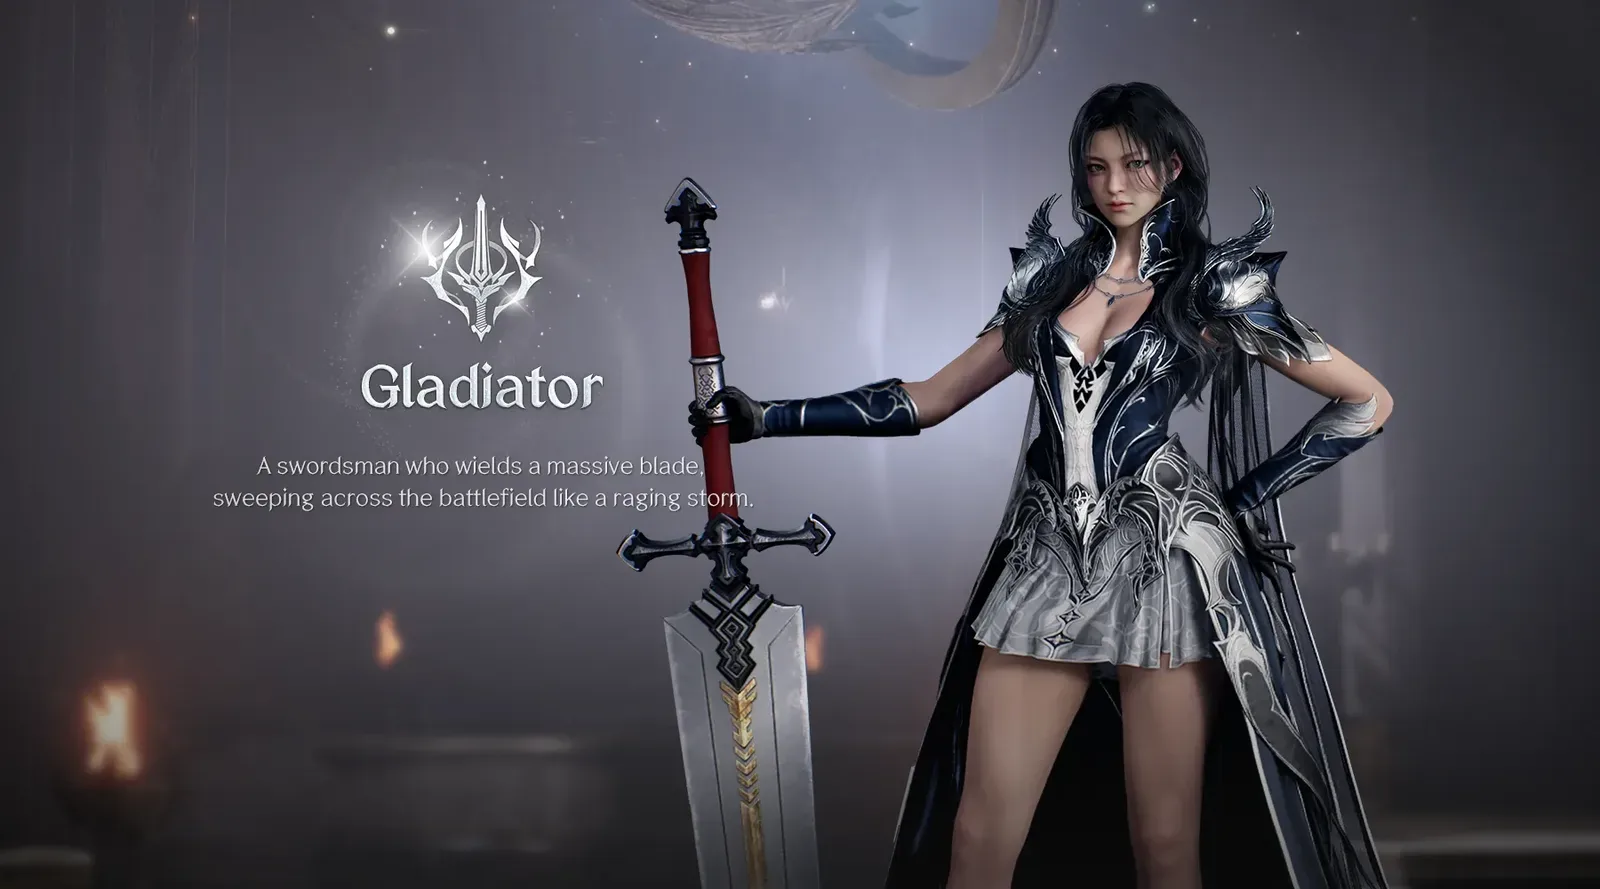
Gladiator class presentation and weapon identity.
The class is a natural fit for players who want a direct melee role with more recovery and defensive options than a fragile damage specialist. That still involves decisions: keeping MP available, using a valid follow-up window and choosing whether the group needs you to deal damage or control enemy attention.
Agree on that responsibility before the pull. If another player is tanking, avoid assuming that every frontal attack belongs to you. If you are handling the target, prepare to control its facing and give allies a stable attack position. A Gladiator's ability to generate threat is useful only when the party understands who is supposed to hold it.
Read the conditions behind Overhead Slam
Overhead Slam is a conditional attack. Knockdown normally makes an enemy eligible, and Mocking Blade supplies a way to create that state. Aerial Snare is another follow-up tied to an appropriate target condition. These are not simply attacks that become available whenever their cooldown ends.
Rage Burst creates a separate Overhead Slam opportunity against the target it hits. This matters when the target does not cooperate with an ordinary Knockdown sequence. Keep the target-specific nature of the effect in mind: applying it to one enemy is not a promise that every nearby enemy becomes eligible for the same follow-up.
Enemies with Incapacitated Immunity use special trigger rules for these attacks. Their immunity does not mean Overhead Slam or Aerial Snare is available continuously. When an expected attack remains unavailable, inspect the target state and trigger instead of treating the issue as a missing keybinding or assuming that the game ignored your input.
The cooldown-removal Specialty for Overhead Slam also does not erase its activation condition. Reducing or removing the cooldown allows repeated use during a valid window; it does not create that window by itself. This is the distinction to understand before copying a clip that appears to show uninterrupted use.
Build pressure without emptying MP
Keen Strike recovers MP and opens the basic attack rhythm. Rending Blow spends resources as part of the damage loop. Ruinous Blow supplies its rushing attack and Prepare for Battle effect, which supports subsequent offense. These tools work better when the resource cycle remains stable than when every available attack is used without regard to cost.
During a safe contact period, mix the recovery action into the sequence so that the next useful follow-up is affordable. When a boss forces you away, use that interruption to notice your current MP and the tools available on return. If you keep reaching a valuable attack window with an empty resource bar, recovery timing is a more immediate problem than another offensive stat upgrade.
Specialties can change resource behavior. Rending Blow has a later option to recover MP on Critical Hits, while Sword Aura Rampage can gain a mana-restoration choice for stagger opportunities. Those effects require the relevant choice; reaching a skill level does not automatically equip every available Specialty.
Treat a stagger window as an opportunity with conditions, not a generic instruction to press every attack. Use the actions that are eligible, preserve the ability to continue afterward and watch for the recovery of the boss. A rotation that is sustainable on one target may need adjustment when mechanics shorten contact.
Preserve a gap closer for forced movement
Leaping Slam moves you to a target. Rush Strike is another return tool with a Dodge-related condition. They help regain melee contact after a target creates distance or a mechanic forces you away. Spending all movement immediately at the start can leave you walking back through the next separation.
Decide which movement action you need to enter and which one remains available to return. This is especially useful when the opening position is already close enough for normal attacks. A gap closer used for no movement benefit may reduce your options later without increasing the useful time you spend attacking.
Before returning, look at the destination. If the boss remains inside a dangerous area, rushing back immediately can erase the benefit of having dodged away. Wait for a safe opportunity, then reestablish contact. The class's sustain helps with unavoidable pressure; it is not a reliable substitute for checking where a movement skill ends.
For regular enemy packs, area-capable movement and cleave can help you deal with several targets. Keep the pull within what you can survive and what the group agreed to handle. Pulling extra enemies toward a healer who is already recovering the group can turn a short damage opportunity into a resource problem for everyone.
Separate damage duty from tanking duty
When you are the designated tank, Enmity-generating attacks help maintain enemy attention. Keep the target positioned so allies can use their intended attack angles and avoid unnecessary frontal exposure. A sudden turn can be more disruptive to the group than a small pause in your own damage.
Successful Block can activate Experienced Counterstrike, which provides a party damage benefit. That connects defense with offensive support. However, the benefit does not stack with the Templar's Fury effect. If both classes are present, do not count those effects as two independent copies of the same bonus.
When someone else tanks, pay attention to the target's attention rather than competing blindly for the front position. If you unexpectedly draw the enemy, use your defensive options and communicate. Bringing the target into a stable position is more useful than running through the party while trying to restore your damage routine.
A secondary tank responsibility also needs a clear trigger. Agree whether you are handling an extra enemy, taking over if the main tank falls or simply contributing defensive utility. Those are different tasks. The presence of a greatsword and high HP does not by itself establish that you should change the group's plan during a fight.
Rotate sustain according to the threat
Blood Absorption provides recovery through attacks and has a separate emergency component at low health. Lifestealing Blade adds HP absorption to an area attack. Focused Block provides a timed Parry tool and resource recovery. Each supports melee endurance differently, so choose the response that matches the damage you are facing.
Do not spend all available protection on a harmless opening hit. Keep a response for the attack pattern that actually threatens you. Conversely, do not wait until you are already incapacitated to consider a defensive action that needed to be used beforehand. Learning the boss's rhythm makes a defensive kit much more dependable.
Tenaciousness offers a short protection window followed by damage-tolerance benefits, but certain powerful attacks can bypass its protection. It is also subject to restrictions involving related invincibility effects. Do not plan to ignore a lethal mechanic simply because this action is ready, or assume that several classes can chain those effects without limitation.
Defiance removes its listed hard control effects and grants a brief immunity window. Save its value for a situation where that control prevents you from performing the required action. A slowed movement speed is not automatically the same problem as being stunned or knocked down. Read the effect you have before using your breakout tool.
Apply control and debuffs with a purpose
Mocking Blade and other control tools can set up follow-ups against eligible enemies. Blade Toss supplies ranged Defense and Incoming Heal reduction, which can be useful when you cannot immediately remain in melee or when the party is concentrating on a priority target. Its value is more specific than simply adding another damage button.
In PvP, use control to create a coordinated opportunity or protect a threatened ally. A successful Knockdown can open Overhead Slam, but target resistance and immunity affect reliability. Do not evaluate the class only by the sequence that worked on an ordinary monster; player targets have different responses and can force separation.
An offensive debuff is most useful when allies can capitalize on it. Applying it to an enemy nobody can reach may produce less benefit than waiting for the group to commit. Likewise, pursuing one target too far can leave you separated from healing and support. Match the target choice to the party's actual fight.
For PvE, recognize when a boss is immune to a control effect while still accepting another part of a skill. Separate the damage, debuff and control components in your expectations. This makes it easier to identify whether you need a different tool or simply need to wait for a valid conditional trigger.
Improve one encounter decision at a time
Review failures by what interrupted your contribution. If you spent too long chasing, preserve movement for separation. If Overhead Slam stayed unavailable, study the target condition. If MP disappeared, adjust recovery actions. If you died while holding attention, examine defensive timing and avoidable exposure before replacing the entire build.
For a first dungeon, aim for stable contact, a reliable resource cycle and a clear party role. Learn the moments when you must leave the target, then return safely. Once those decisions are consistent, damage upgrades have more opportunities to matter because you are alive and able to use them.
Gladiator's strength is the combination of pressure and resilience. Use its recovery to sustain the job you were assigned, its movement to regain safe contact and its control windows to enable real follow-ups. That produces more dependable play than treating every conditional attack as always available or every defensive skill as permission to stand still.
Sources and verification
Reviewed for Global on October 10, 2026. The linked independent class guides inform the skill explanations. Check current Global tooltips and unlocked specializations before copying a build; the advice here is editorial and has not been benchmarked in game.
- Gladiator Class Guide: Skills and How to Play | AION 2
- Aion 2 Gladiator PvE DPS Build
- Gladiator - Aion 2 Wiki