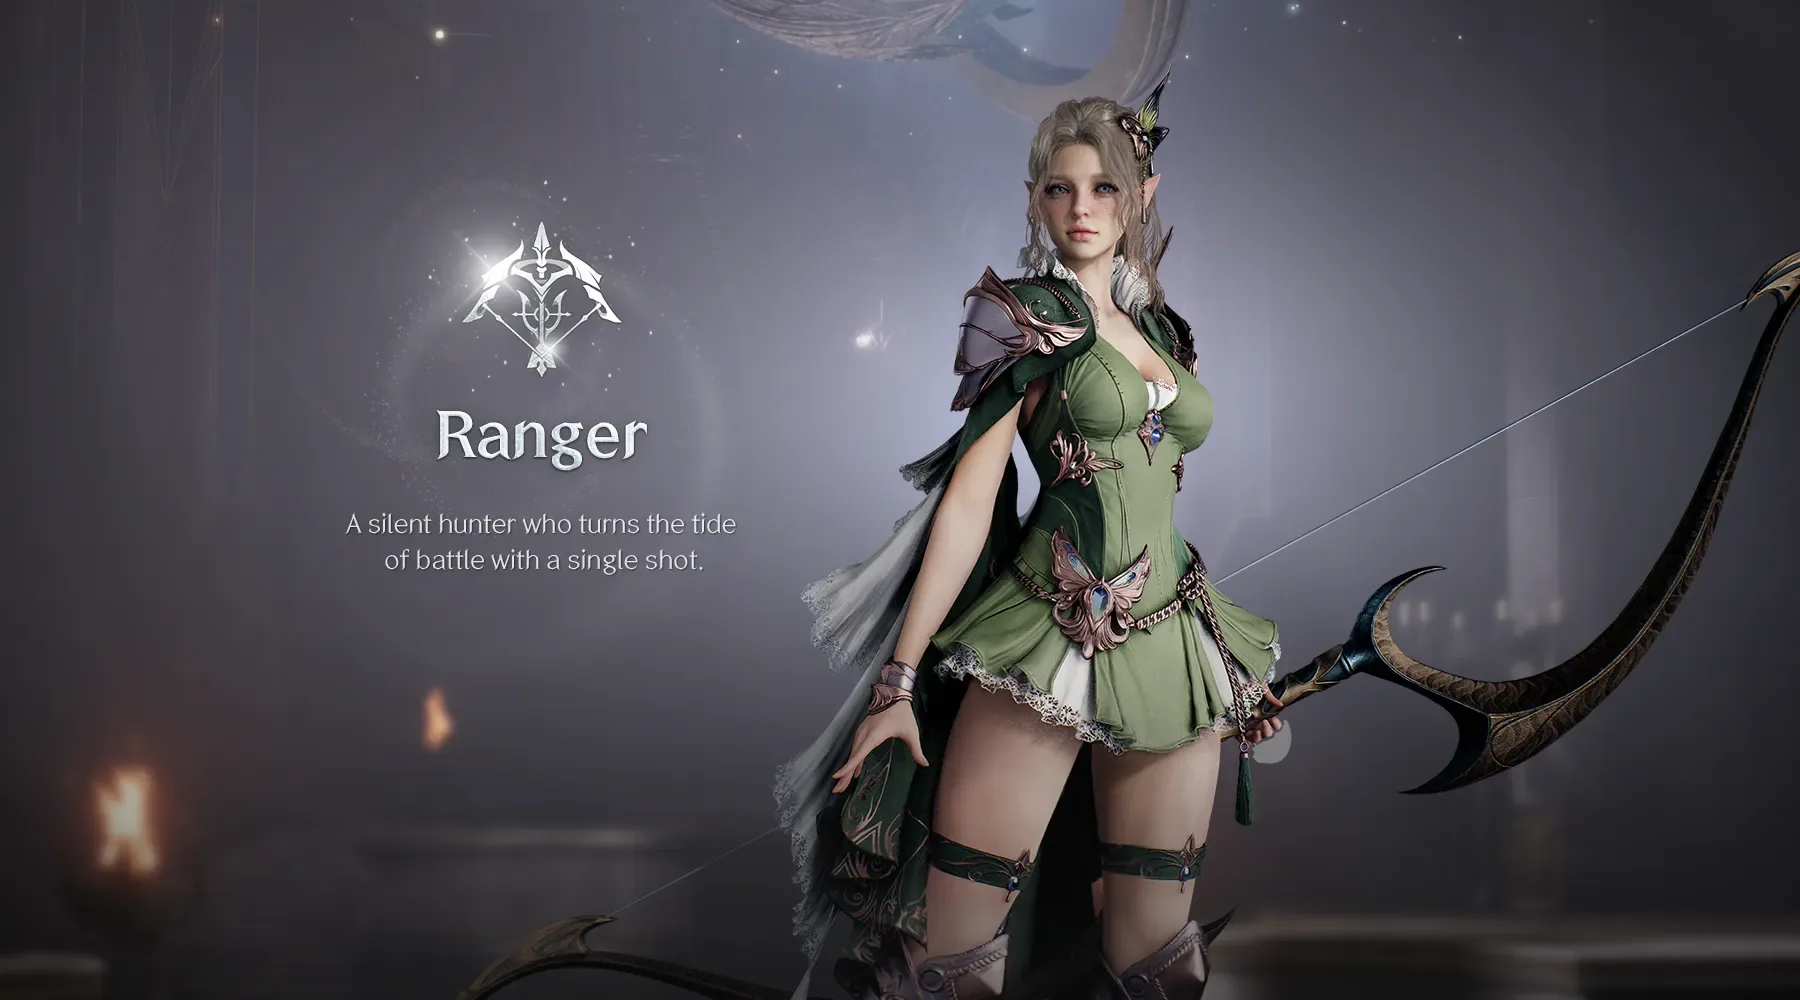
AION 2 Ranger is a bow damage class that fights at range and controls approaches with slows, roots, and traps. Its comfort depends on keeping useful space while still remaining close enough to follow the party's mechanics.
Choose Ranger if you enjoy reading an enemy's approach and changing position before it reaches you. Range provides an opportunity to react; it does not protect you automatically from every attack. This guide focuses on the class's decisions and responsibilities rather than a fixed skill bar or equipment plan.
Learn what useful distance actually means
Ranger's attacks commonly reach 20 meters. That reach gives you room to identify a melee approach, avoid unnecessary contact, and continue attacking while the frontline holds the target. It is most useful when the route behind you is clear and your party remains within practical support distance.
Standing as far away as possible is not always the right response. A boss can use a wide attack, a mechanic can require everyone to group up, and a retreat can take you outside the healer's reach. The objective is usable space, not maximum separation under every condition.
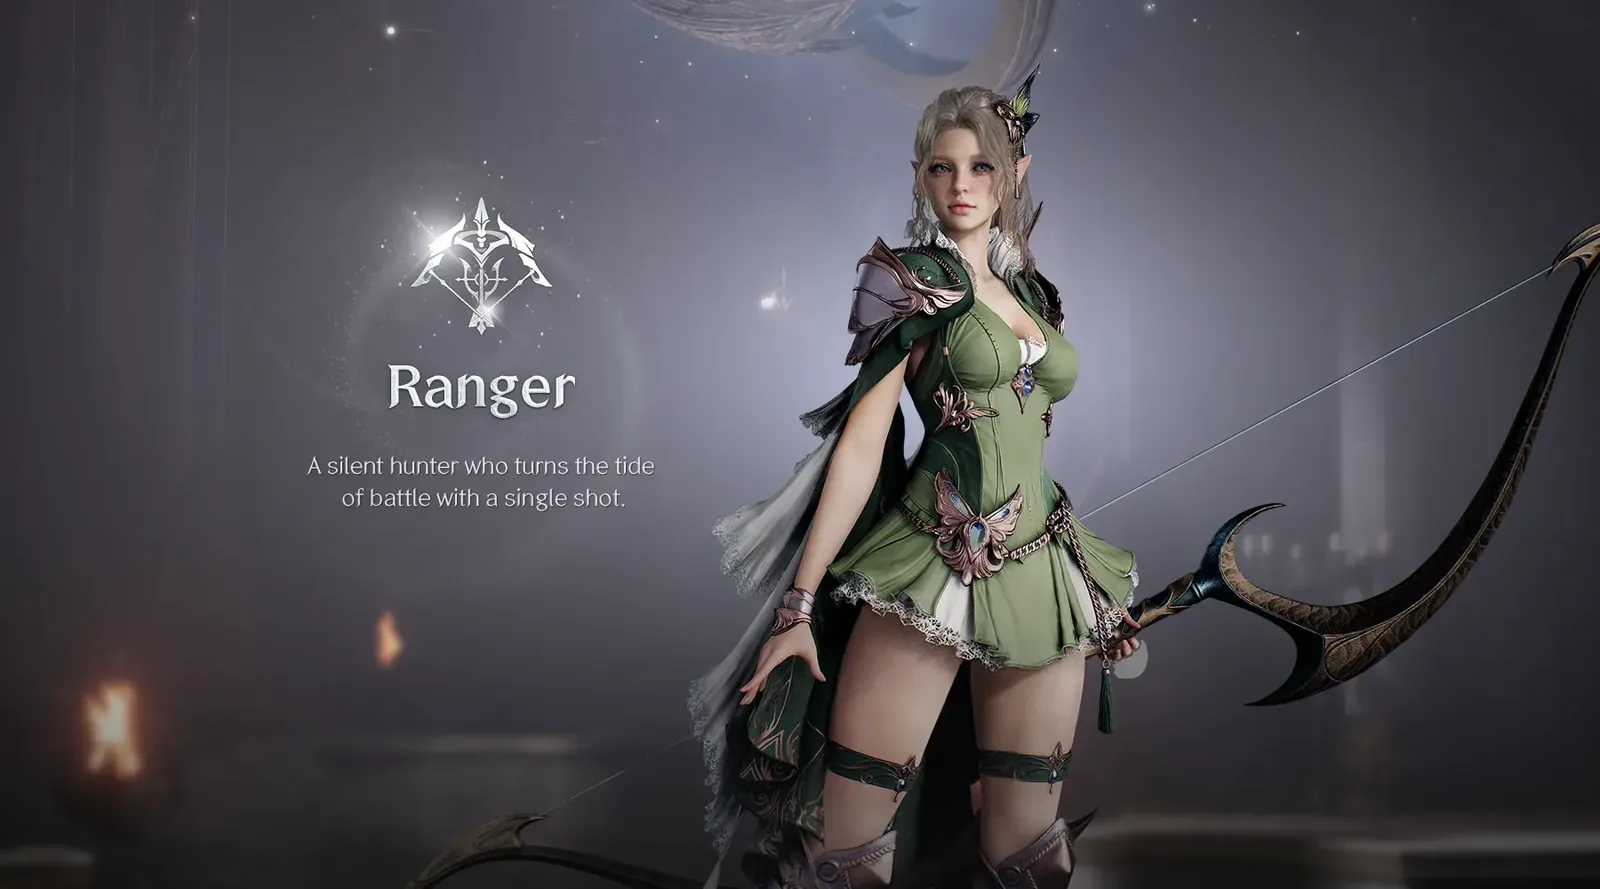
Class identity artwork; positioning and control still depend on the encounter.
Before beginning a pull, identify the target, the tank's likely position, and your nearest safe direction. Avoid starting at a wall with no room to retreat. A ranged class benefits from a planned second position, because the first safe spot may stop being useful when the enemy moves.
In ordinary solo encounters, keep the enemy in front of you and move through a clear area. Pulling backward toward unseen enemies can replace one manageable target with several. Look over the retreat path before using the extra distance to extend the fight.
Distinguish kiting from running away blindly
Kiting means controlling an enemy's access to you while continuing useful pressure. Running until you lose the target, leave your party, or draw another pack is not the same task. Ranger's slows, roots, movement, and traps create opportunities to reposition without surrendering the whole exchange.
Move with a reason. If an enemy is approaching, use the space you already have before spending every escape at once. If it changes direction, reassess rather than repeating the same backward movement. If your current path leads toward another threat, choose a lateral route through a clear area.
The best movement is often small. A short adjustment can leave an attack behind you while preserving range and support. Constant large movements can make your own actions harder to use and force the rest of the party to compensate for a target dragged around the room.
Practice against one ordinary enemy with clear surroundings. Start at range, observe its approach, create space when needed, and stop moving once the next position is safe. The lesson is when to move and when to resume the fight. It is not a speed contest or a requirement to dodge every minor animation.
Read Precision as a current state
Precision is an important Ranger effect associated with Marking Shot. It connects the class's movement and damage identity: changing position can also establish a state that supports other attacks. Deadshot and Suppressing Arrow are among the skills whose behavior benefits from Precision.
The practical habit is to look for the current effect rather than assume it remains active because you used its source earlier. A long interruption, movement phase, or target change can alter the timing of the next opportunity. Resume according to the state actually available on your character.
Do not turn Precision awareness into a reason to ignore the encounter. If a dangerous area forces movement, leave it. The effect does not make an unsafe charged attack worthwhile. Re-establish a useful position and then decide how to use the next offensive window.
This guide does not prescribe a buff sequence, specialization, or numerical uptime target. Those choices depend on the build and encounter. The class-level lesson is simpler: notice what effect is active, understand which action it supports, and avoid committing when the conditions have already changed.
Use control to create room or a clean attack
Ranger's toolkit includes Snare Shot, Explosion Trap, Ensnaring Trap, and other disruptive actions. They support two related jobs: making an approaching enemy easier to manage and creating a moment when you can attack without immediately being forced to move.
Decide which job you need before spending the control. If you are already safe and the target is stable, using every trap may leave no answer to the next melee approach. If the enemy is already within reach of you, control should help create a route out rather than merely add another animation while you remain trapped.
Slows and roots also interact with parts of Ranger's offense. Burst Arrow is associated with a slowed or rooted target. A stun or another disruptive state is not interchangeable with that condition. Observe what actually applied before assuming a condition-dependent action will be available.
Avoid promising that a control always works against another player. Ordinary-enemy behavior does not establish a guaranteed result in PvP, and bosses can have their own immunities or encounter rules. When the effect fails, switch to the space you can still use instead of repeating a plan that depended on immobilization.
Place traps where an approach is likely
A trap creates value when an enemy reaches its position. Placing one without considering the enemy's route can spend the tool without changing the fight. Look at the approach path, the obstacle layout, and the position you intend to occupy next.
Against an approaching melee target, a defensive trap can make the direct route toward you less comfortable. That does not require you to stand still until the enemy arrives. Move so the target must choose between following through the controlled area and taking a longer route.
In a party, avoid treating every trap as a personal damage action. The same tool can help protect another ranged player or disrupt a threat moving toward support. Follow the group's target and positioning plan so your control serves the encounter instead of interfering with a clean pull.
Do not confuse a visually dramatic effect with successful placement. Judge the result: did the enemy cross the area, did the relevant control apply, and did your next position become safer? If not, change where you place the next trap rather than assuming the class lacks enough tools.
Respond when the enemy reaches melee range
Ranger is more vulnerable when an enemy closes the gap. Ambush Kick and the movement associated with Marking Shot are examples of tools that can help restore space. Their value depends on the route they create, not merely on using them the moment the target appears nearby.
Check behind you before moving away. A backward action near a wall may leave you in almost the same problem. A clear lateral route can be better than retreating along the enemy's original line. Use the space to return to a position where your bow's reach matters again.
Preserve Stamina for a dangerous attack or a necessary escape. Repeated unnecessary dodges can consume the resource you need when an opponent commits to a real gap closer. Walk through safe space when the situation permits it and reserve a dodge for the movement that ordinary repositioning cannot provide.
If you are controlled, read your available recovery rather than trying to continue an offensive setup. Creating a safe position after the control ends is usually more useful than immediately recommitting beside the same threat.
Be a ranged party member who remains reachable
Ranger's dungeon job is sustained ranged damage while contributing to the shared mechanics. Remain aware of the tank's target and the healer's position. Safe distance becomes a liability if it leaves you isolated when recovery or group movement is required.
When the boss becomes stable, establish a position with a clear view and room for your next move. When the group changes position, move with it. Do not keep firing from the old corner because it was safe during the previous phase.
A marked-teammate safe area demands a different response from ordinary kiting. Follow the group instruction instead of trying to preserve your maximum firing distance. Once the mechanic ends, spread back into a useful ranged position as the encounter permits.
| Party situation | Useful Ranger response |
|---|---|
| Tank holds a stable target | Maintain readable distance and watch the next warning |
| Add approaches support | Help control or remove the agreed threat |
| Group must move together | Follow the shared safe route before resuming attacks |
| Boss follows you | Return toward the group's plan rather than pulling it away |
| Melee enemy reaches your position | Create space through a route that keeps support available |
This is why Ranger's apparent solo comfort does not remove group responsibility. The same awareness that keeps you safe should also make the encounter easier for the people around you.
Adapt the playstyle for PvP pressure
In PvP, opponents can change direction, use their own gap closers, and decline to follow the route you expect. Ranger's traps therefore require prediction. Watch what the opponent is trying to reach, not only where it stood when you began your action.
Avoid using every escape on the first approach. If the opponent still has another way to close the gap, you need a second position or another response. Create one useful separation, observe the next action, and commit further movement when the threat justifies it.
Your control can also support teammates. Disrupting a caster or slowing a target pursuing your healer may matter more than chasing personal damage into a dangerous position. Choose the target whose action threatens the group's objective and remain close enough to benefit from the same support.
No universal PvP rank is assigned here. Ranger's outcome depends on positioning, the opponent's tools, the encounter, and the version being played. A class can feel comfortable against one approach and difficult against another without either experience proving a permanent tier.
Choose Ranger for its actual decisions
Ranger suits players who like a bow, readable distance, and active battlefield control. It is a poor fit if you expect range to eliminate movement or if you prefer to stand inside a melee pack until every action completes.
During your first sessions, judge three things: whether you recognize approaches early, whether your retreats lead into clear space, and whether Precision and control conditions make sense to you. Those habits reveal more about your fit with the class than a damage chart from an unrelated regional version.
If a fight goes wrong, identify the specific problem before changing the build. Being trapped at a wall is a positioning problem. Spending a trap on a route the enemy never used is a prediction problem. Missing a shared safe area is an encounter-response problem. Correcting those decisions lets the Ranger's range and control become useful rather than merely available.
Sources and verification
Reviewed for Global on October 10, 2026. The linked independent class guides inform the skill explanations. Check current Global tooltips and unlocked specializations before copying a build; the advice here is editorial and has not been benchmarked in game.