
AION 2 Assassin is a dagger damage class built around rear attacks, mobility, stealth, and Insignia pressure. Choose it if you enjoy creating a short opening, exploiting it, and leaving before the enemy controls the exchange.
The difficult part is not simply pressing attacks quickly. You must read the target's facing, preserve an escape, and avoid spending the whole fight surrounded. This page explains that playstyle and your job in a party; exact skill bars, upgrades, and equipment belong to a separate build plan.
Understand the Assassin's combat problem
Assassin trades a forgiving frontline position for the ability to reach a vulnerable angle. Its damage identity includes fast dagger sequences, back attacks, critical interactions, and Insignia detonations. Those tools reward a player who notices a stable opening rather than forcing one after the opportunity has disappeared.
The same identity creates its main weakness. When several enemies surround you or control effects stop your movement, the class cannot rely on the safety of distance. Repeatedly entering the middle of a pack because a movement attack is available turns a mobility advantage into a survival problem.
Think of each engagement as three decisions: where you will arrive, how long that position will remain useful, and where you can leave. The arrival alone is insufficient. A perfect rear position loses its value if you remain there through a dangerous attack or chase the target into another group.
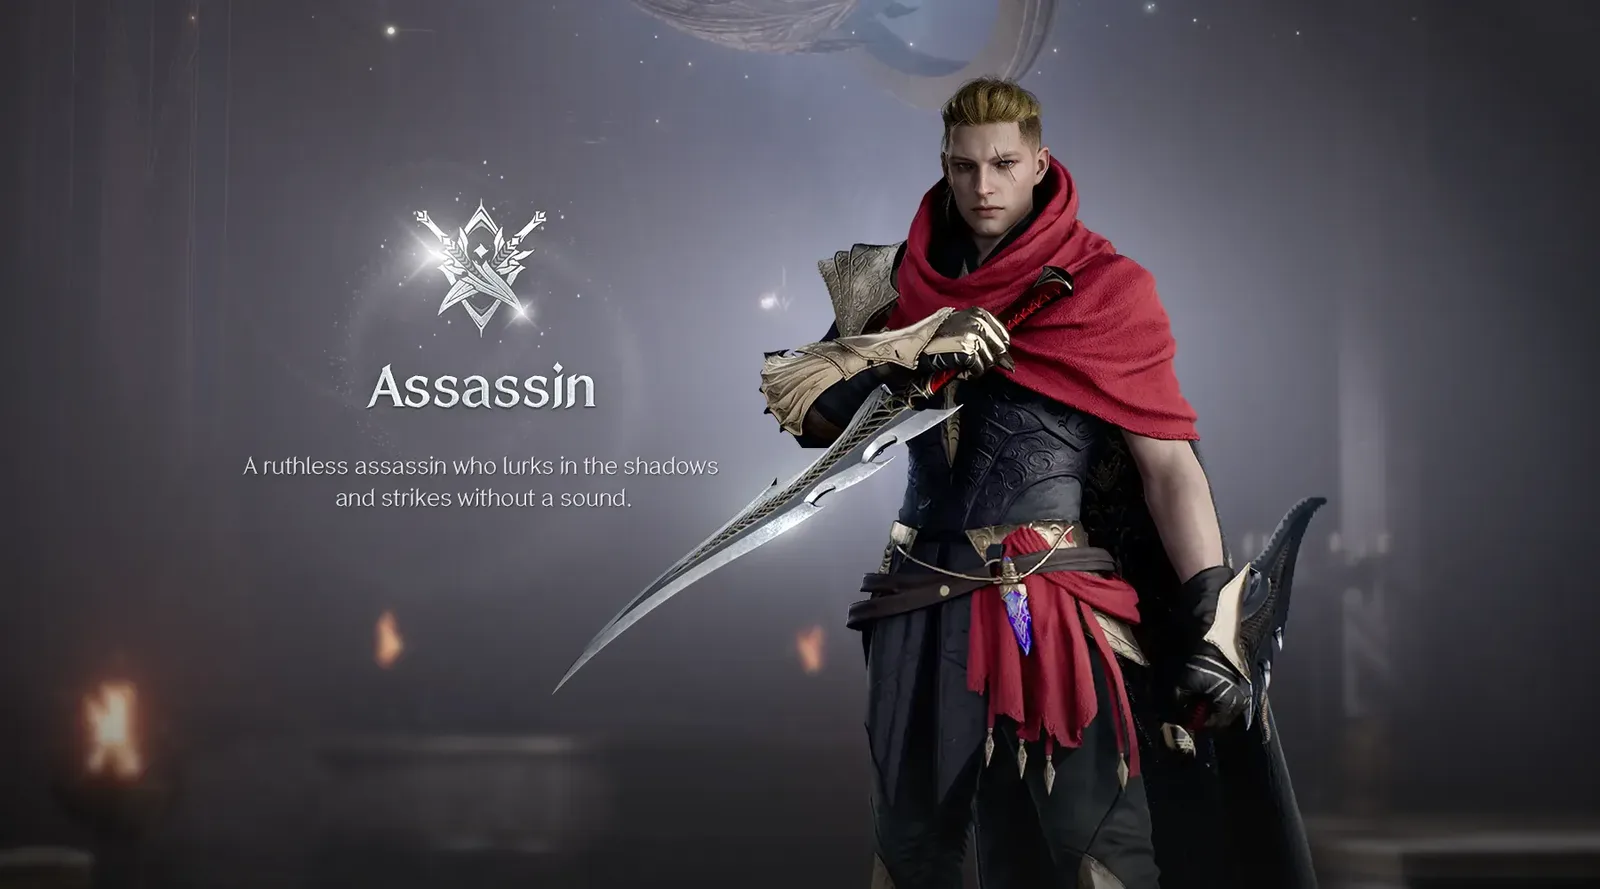
Class identity artwork; positioning and control still depend on the encounter.
For a new Assassin, dependable survival and correct target selection are better learning goals than reproducing a showcase's burst sequence. Once those decisions are consistent, a build guide can refine how you spend the opening.
Read facing before chasing a back attack
Back attacks are a defining part of Assassin. A target's rear is a moving relationship, not a permanent point on the floor. When the enemy changes target or turns to attack you, the same place can stop being the rear even though your character has not moved.
Watch the enemy's body and current target together. In a party, a tank can help keep a boss's facing predictable, which gives you a more stable flank. During solo combat, expect the target to turn toward you more often. Your decision then becomes whether to reposition, control the enemy, or accept a shorter safe exchange.
Do not orbit blindly while a large ground effect is forming. Moving to the rear through a hazard can cost more than the attack gains. Use a side position while you identify the safe route, and move behind only when the path and the destination are both usable.
A useful practice sequence is:
- Approach one ordinary enemy with clear surroundings.
- Observe which direction it faces before you attack.
- Notice how its facing changes when it begins responding.
- Reposition for the next safe rear opportunity.
- Leave before an avoidable heavy attack rather than finishing every available action.
The exercise is about recognizing a changing angle. It does not require an optimized equipment set or a specific damage threshold.
Use movement as a decision, not a reflex
Shadowstrike, Infiltrate, and Flash Slice are associated with repositioning around or behind a target. That makes their destinations important. Before using a movement skill, inspect where you will land and whether another enemy or encounter hazard occupies that space.
A skill that reaches the target can still be the wrong approach. The boss may be about to rotate, a nearby pack may be unengaged, or the party may need to move toward a shared safe area. Reaching the rear at the wrong moment does not excuse missing the mechanic that determines whether the group survives.
Save enough ordinary movement and Stamina to respond after the engagement. Dodging every minor action while preparing your opening can leave you with no answer to the actual dangerous attack. A mobility class still benefits from walking out of a safe, predictable area instead of spending a dodge unnecessarily.
When pressure becomes difficult to manage, Shadowstep offers a backward movement and brief stealth effect in the class toolkit. Its value is the space it creates. Choose a retreat direction before using it, because moving backward into a wall or another threat does not solve the problem.
Treat stealth as preparation and disengagement context
Shadow Walk supports an approach in stealth before combat. It gives you time to choose an angle, inspect the surrounding enemies, and decide whether the target is isolated enough to engage. It is not a reason to begin every fight without knowing your exit.
Use the approach to identify weaker nearby enemies that could complicate the main target. If you can remove an isolated threat without drawing a larger group, the next exchange becomes easier to control. If the space is crowded, moving past the first target to find a cleaner opportunity may be more useful than immediately attacking.
Do not promise yourself that stealth will erase every consequence of a poor engagement. Effects have their own conditions, and taking action can change the combat state. Use the actual effect on your character to judge whether you are hidden rather than assuming an earlier stealth activation is still protecting you.
A stealth approach is especially useful when coordinating a party pull. Wait until the group's plan is clear, reach the agreed position, and begin when the tank or leader starts the encounter. Initiating early because you already reached the rear can turn an organized pull into an unnecessary recovery.
Understand Insignia pressure without copying a rotation
Insignia is another part of the Assassin's identity. Some actions engrave Insignia, and other actions use that pressure for a payoff. This creates a reason to monitor the target's state instead of treating each attack as an unrelated button.
Keep the current target visible while you build that pressure. If the target is about to die, leave range, or become unavailable, a long setup may not produce the intended result. Target selection and encounter timing therefore matter alongside the actions themselves.
This page does not prescribe an Insignia sequence or a universal specialization. The useful decision is whether the same enemy will remain a valid, safe target long enough to justify committing. A boss that is stable in front of the tank offers a different opportunity from a player who is retreating toward allies.
Avoid carrying assumptions between PvE and PvP. A control effect that reliably works on ordinary enemies may have different success conditions against players or immune bosses. Read whether the effect actually applied before investing the rest of your pressure into a disabled-target opportunity.
Contribute to a dungeon party beyond damage
Your first party responsibility is to attack the agreed target without creating a new problem for the tank or healer. Stay close enough to receive support, preserve the boss's stable facing, and avoid chasing a minor enemy so far away that you miss the shared encounter movement.
As a melee damage dealer, you can help remove an important add when the party identifies it as the priority. Move with a plan: approach from a safe angle, watch its attacks, and return to the group's positioning once the task is complete. An add assignment is not permission to disappear into every distant target.
When the encounter requires everyone to follow a marked teammate or reach a safe region, move first. A rear attack that delays that movement can damage the whole group. Resume pressure after the mechanic resolves instead of trying to finish the entire personal sequence during the warning.
Communicate a failed control or a forced retreat when it changes the party plan. You do not need to narrate every skill. A short warning that you are leaving the target, cannot hold the add, or need the boss kept still helps others respond to the actual problem.
| Encounter situation | Useful Assassin decision |
|---|---|
| Boss facing is stable | Use the available rear or flank while watching the next mechanic |
| Boss turns toward you | Reassess the angle instead of staying in a stale rear position |
| An important add appears | Follow the party's priority and choose a safe approach |
| Shared safe-area movement begins | Move with the group before continuing personal damage |
| Multiple threats surround you | Create space and re-enter through a cleaner angle |
Choose PvP openings you can leave
In PvP, Assassin's stealth and control favor an isolated or exposed target. Look for the enemy who has moved away from support, committed to another action, or used an important defensive response. Charging into the center of an organized group makes it harder to exploit your mobility and easier for several opponents to stop you at once.
Before entering, identify where friendly support is and where the target can retreat. A low-health opponent can still draw you into a stronger group. The useful question is whether you can complete a controlled exchange and return, not whether the target looks tempting from a distance.
If your control does not apply, react to that result. Do not continue a plan that depended on a stun simply because the animation played. Create space, watch the enemy's response, and look for a later opening when the conditions are better.
When the opponent uses a control-break or temporary immunity effect, avoid spending every remaining disruptive tool into the same protected moment. Back away if you can do so safely, preserve your next useful action, and re-engage after reading the actual state of the fight.
Decide whether the class suits you
Assassin suits players who enjoy positional awareness, quick target decisions, and active escapes. It is less comfortable if you want to stand in one location, ignore enemy facing, or absorb several threats while finishing a long sequence.
For solo play, patience matters. Learn isolated enemies before trying to pull several at once. The class's potential damage does not remove the cost of being surrounded, and a clean single-target engagement can teach more than repeated deaths in a crowded pack.
For group play, expect to share responsibility for mechanics while maintaining your melee position. You should enjoy noticing the tank's facing and the healer's reach. These are practical parts of playing the class, not distractions from dealing damage.
Judge improvement through specific failures. If you die after a gap closer, inspect the landing point. If rear pressure disappears, inspect the target's facing. If you cannot leave, inspect whether your approach spent the mobility or Stamina you needed for the exit. Correcting that one decision is more useful than changing every part of the build at once.
Sources and verification
Reviewed for Global on October 10, 2026. The linked independent class guides inform the skill explanations. Check current Global tooltips and unlocked specializations before copying a build; the advice here is editorial and has not been benchmarked in game.