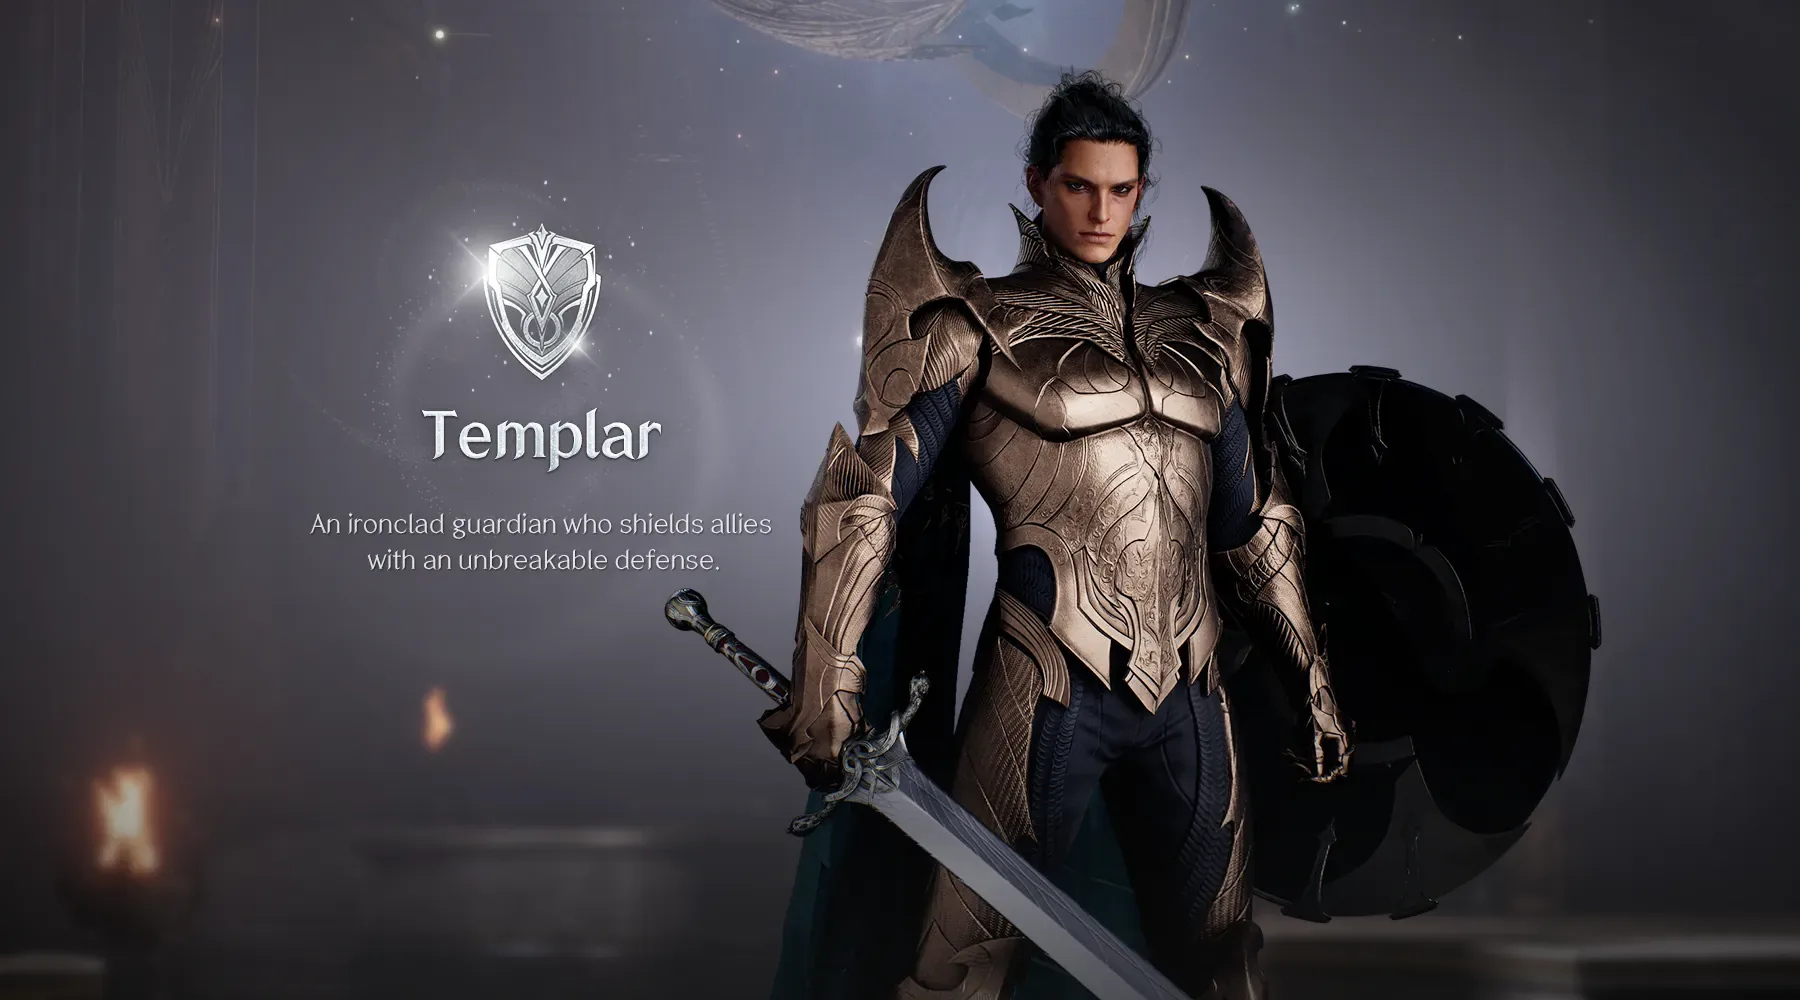
AION 2 Templar is the sword-and-shield frontline tank. Establish Enmity, hold the boss facing away from allies, and time your defensive and party-protection tools around the encounter.
The class does more than absorb attacks. Its position changes where allies can safely stand, its pulls determine which enemies enter the fight, and its protection can help the group survive a shared damage event. This guide follows Global as of October 10, 2026 and focuses on those responsibilities rather than reproducing a fixed equipment or Stigma build.
Recognize the sword-and-shield tank
Templar combines Enmity generation, defensive effects, close-range attacks and control. The shield is central to its presentation and combat role, but wearing it does not automatically make every attack safe. You still need to distinguish damage that can be mitigated from mechanics that require movement or another specific response.
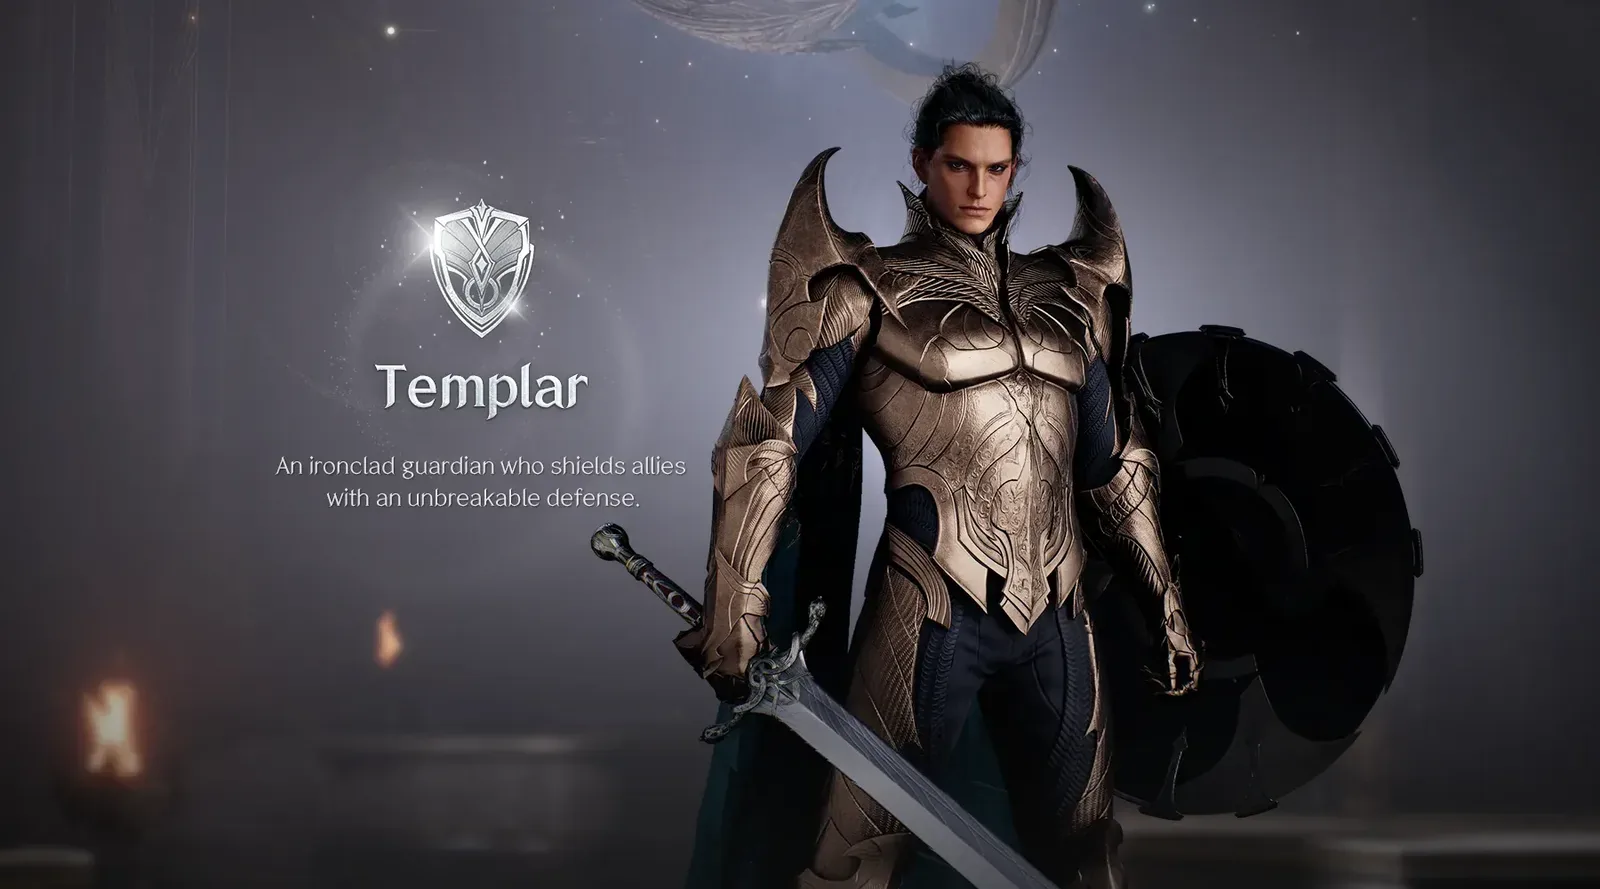
Templar class presentation and weapon identity.
The party usually relies on the tank to initiate an agreed pull and establish the first stable position. Prepare with the group before doing so. A Chanter activating effects or a Cleric selecting a recovery plan may need a moment before combat starts. Starting early can turn an otherwise manageable pull into a fight where support is unavailable.
Choose the role deliberately in a mixed frontline group. A Gladiator can help handle enemy attention, but two players independently moving the same boss can make its facing unpredictable. Agree who controls the main target and who handles any separate responsibility. That decision is more useful than assuming the highest damage number will settle the role.
Establish Enmity through active engagement
Enmity is the enemy-attention system, commonly called threat. Vicious Strike, Pummel and Judgment contribute to it. Vicious Strike also restores MP, which helps maintain participation rather than leaving the tank unable to use important actions during a longer encounter.
Insulting Roar increases Enmity Boost and rewards Front Attacks with a temporary Attack benefit. That supports the Templar's frontal responsibility, but it does not mean you should remain inside every frontal danger. Move for the mechanic and then reestablish a safe position. Defensive stats do not erase encounter rules.
A practical opening is to initiate the agreed target, use eligible threat-generating attacks and watch where the enemy turns. The goal is stable attention, not merely pressing a particular first skill. If the target heads toward an ally, inspect what happened and use the available attention tools rather than continuing a personal damage routine as though nothing changed.
Do not assume that one opening action maintains control for the entire encounter. Keep attacking during safe periods and remain attentive to extra enemies, transitions and movement. When the fight changes, the tank's responsibility changes with it. Maintaining the original position is not useful if a new mechanic has made that position dangerous.
Control facing without moving through allies
Once the boss is focused on you, hold a position that keeps its front away from the party when the encounter permits. This protects allies from many frontal attacks and gives classes that use back attacks a predictable place to work. The benefit depends on consistency as well as the initial placement.
When you must move, choose a path that does not sweep the boss's front across the group unnecessarily. A small reposition can be better than running around the target. Watch the party's positions before settling into the new location so that the direction you choose still provides useful space.
Some mechanics deliberately require the group to spread, move or change sides. In those moments, follow the mechanic rather than forcing a fixed facing rule. Communicate a necessary reposition when possible. Holding a boss perfectly still is not a success if doing so prevents the required encounter response.
If attention shifts suddenly, avoid chasing the boss through every ally without a plan. Reestablish control, let the target settle and then return to a useful direction. Allies also need a moment to adapt. Stable recovery of the position usually gives the party more usable damage time than frantic movement intended to recover a few personal attacks.
Choose a pull or a gap closer deliberately
Poach pulls a selected enemy toward the caster and can apply Root. Grapple is a Stigma that pulls enemies around a selected target. These can help gather a controlled pack, but they also change where enemies stand. Use them with awareness of nearby allies and other enemies that may join the fight.
A pull is not guaranteed against every target. Incapacitated Immunity and resistance can affect the result, and a boss should not be treated like an ordinary monster. A later Poach specialization can change how the caster approaches an immune target. Read the version you have selected before expecting its movement to match an unmodified guide.
Shield Rush provides a gap-closing action after Dodge or while flying. It is useful for returning to a target after movement, but its condition matters. An unavailable action is not necessarily a broken input; the required state may not be present. Preserve an appropriate return option when the encounter repeatedly separates you from the boss.
Before pulling several enemies, confirm that the party is ready for the increased pressure. Gather them into a useful area rather than into the support players. If an extra target remains loose, decide whether you can collect it safely or whether another player is handling it. Avoid expanding a pull simply because the control action is available.
Build a defensive sequence around incoming attacks
Warding Strike combines area damage, immediate HP recovery and a defensive effect. Ironclad Defense improves defensive attributes, while Block Pain provides temporary damage-tolerance benefits after being struck. Guarding Seal contributes a low-health protective shield. These effects have different triggers and should not all be understood as identical active emergency buttons.
Watch the boss's damage pattern and identify the part that threatens you. Use an appropriate active response before a heavy hit when possible. Passive recovery or a low-health trigger may help afterward, but relying on those alone can leave too little room for a healer to stabilize you.
Successful blocks can activate Fury, adding an offensive party benefit. That makes defense part of the group's output. The effect does not stack with Gladiator's Experienced Counterstrike bonus, so a party containing both classes should not add the two as separate copies of the same benefit.
If you are dying while every defensive action is already spent, inspect whether you used them all on the same minor event. Space responses according to the actual sequence of attacks. If a mechanic explicitly demands movement, take that movement instead of trying to cover it with a larger collection of defensive effects.
Protect the group with the appropriate tool
Nezekan's Shield grants a protective shield to the caster and nearby party members. It suits a planned shared damage event when the group is within the relevant range. Use the protection where it can reach the players who need it; a distant ally does not benefit simply because the skill is labelled party support.
Comrade in Arms shares damage from nearby party members with the Templar. That is a different commitment from placing a shield. Before using it, consider your own health and the damage you are already receiving. Redirecting more pressure to a tank that is barely surviving can create a new problem even if the immediate ally damage is reduced.
Noble Armor increases Max HP and provides immediate recovery. Other Stigma options add control or offense. Choose the available tool around the encounter need: individual endurance, shared protection, enemy control or another required function. A support slot is useful because of the problem it solves, not because it appears in every published tank build.
Tell the healer when an important protection will be unavailable for the next dangerous event. The party can then plan movement or a different response. Similarly, announce a deliberate group-protection window when coordination helps allies make use of it. Avoid assuming that they can see every effect while concentrating on their own mechanics.
Recognize conditional attacks and breakout tools
Shield Smite can Stun, while Judgment and Annihilate have target-state conditions or special immunity-target triggers. A successful control effect can open a follow-up, but the cooldown and the activation condition are separate. Inspect whether the target is eligible before assuming a disabled follow-up should be available.
Debilitating Smash reduces Defense and can gain other utility through upgrades. Punishment is a charged attack that grants an offensive effect. Do not let a long offensive commitment interfere with the movement or defense required next. The tank's safe availability remains more important than finishing an attack in a dangerous position.
Defiance removes its listed control effects and provides a short immunity window. Keep it for a moment when hard control prevents you from performing the tank's job. Using it without an applicable effect may leave no answer when a later Stun or Knockdown actually disrupts your position.
In PvP, pulls, control and protection contribute to frontline disruption, but player resistance and immunity affect reliability. Coordinate a target with the group rather than assuming every hook produces the same result as it did against a regular NPC. Preserve a path back to allied support before committing deeply.
Review a tanking attempt with concrete checks
After a difficult pull, first identify whether the issue was attention, facing, mitigation or party coverage. A target attacking the healer is an attention problem. A boss cleaving allies while focused on you is a facing problem. Dying during a telegraphed attack may be defensive timing or a missed movement requirement. A shield missing spread allies is a coverage problem.
Change the relevant decision rather than rebuilding everything at once. Practice an opening that establishes stable attention, one safe reposition and one planned defensive response. Once those are consistent, add more complex party protection and control decisions.
For each new encounter, agree on the pull, learn the dangerous frontal actions and confirm where the group will stand. Keep MP and breakout options available, then reestablish a stable position after mechanics. Templar succeeds when the party can predict the battlefield and perform its own roles safely; that is the purpose behind Enmity, facing and the shield toolkit.
Sources and verification
Reviewed for Global on October 10, 2026. The linked independent class guides inform the skill explanations. Check current Global tooltips and unlocked specializations before copying a build; the advice here is editorial and has not been benchmarked in game.