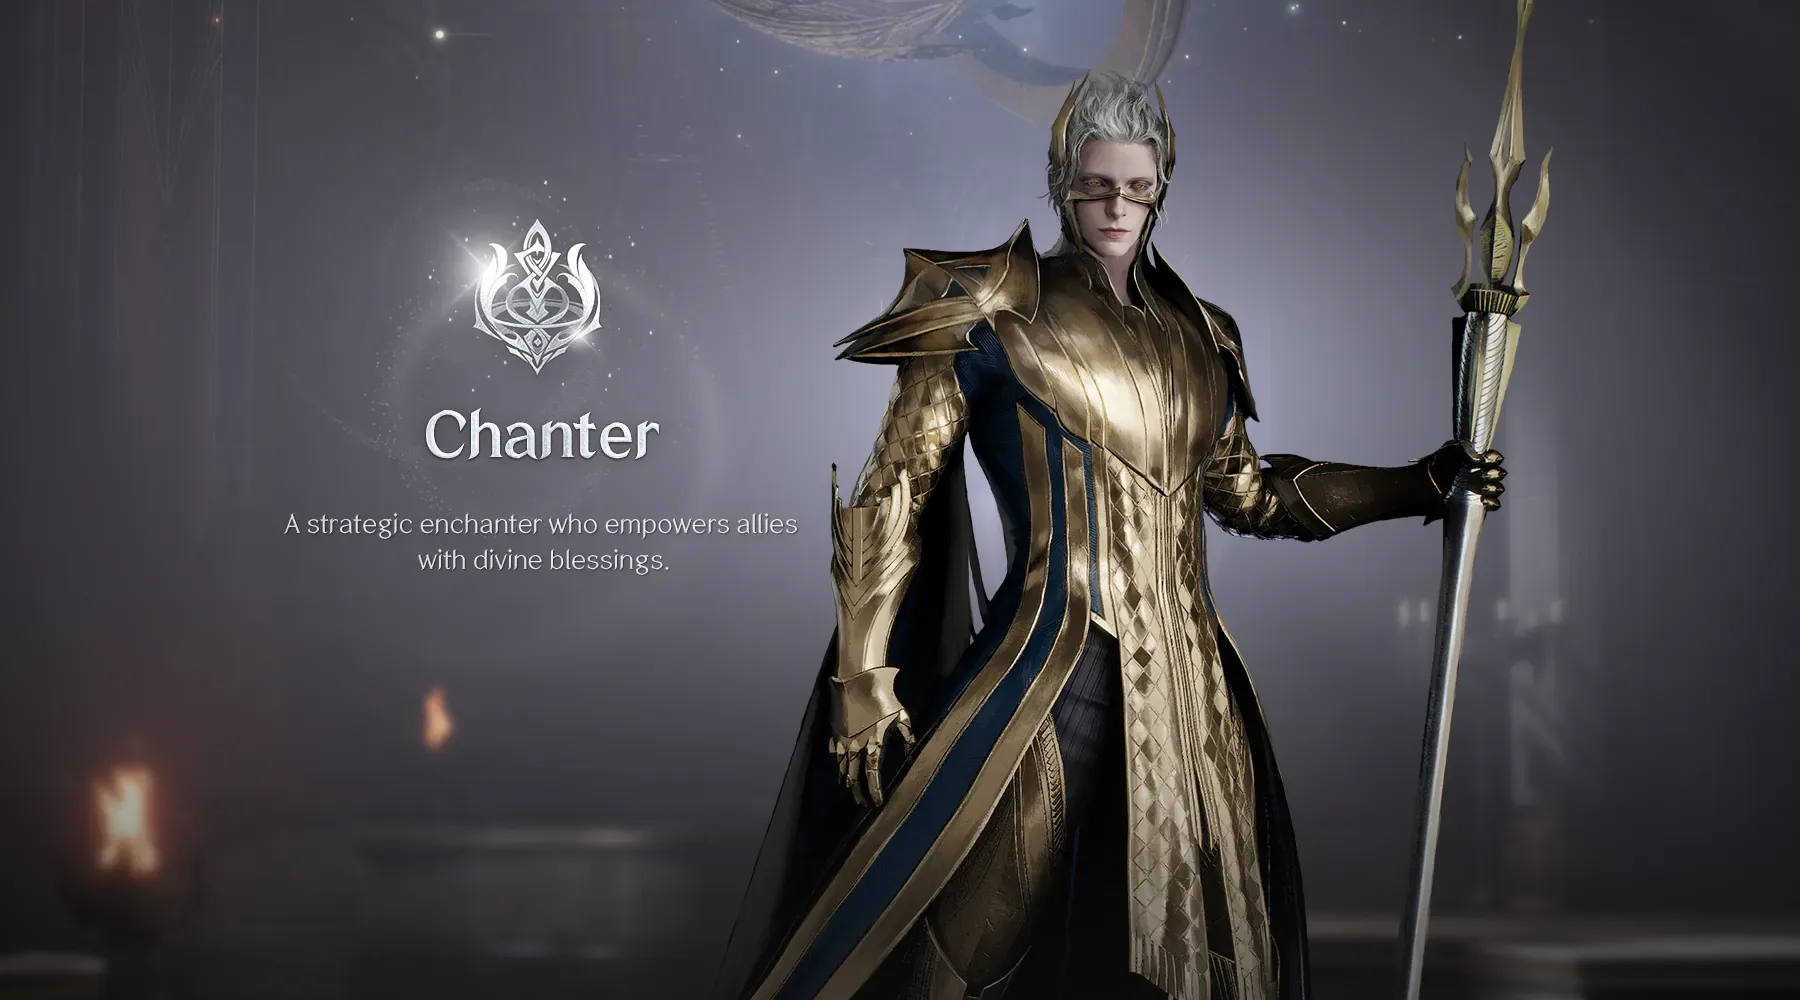
Chanter in AION 2 is a staff-wielding support that attacks to help protect the group. Prepare your Mantras, maintain safe melee contact, and time shields and recovery around incoming damage.
This guide follows Global as of October 10, 2026. It explains decisions during a fight rather than prescribing a fixed four-slot build. Your available Stigmas, skill upgrades and encounter determine which tools you can use. A newly created Chanter does not have the complete support kit immediately; Ascension and later skill development change what the class can contribute.
Understand the staff support role
Chanter occupies a different space from a pure damage dealer or a primary healer. Its staff attacks, Mantras, barriers, recovery and control work together. Standing back and waiting for an emergency ignores the attack-driven part of the kit, while treating every global moment as a damage opportunity ignores the reason a party brought support.
A useful way to judge your contribution is to ask whether allies can keep attacking safely. A shield delivered before a damage spike, a cleanse when a harmful effect lands, or a control effect that stops an enemy can matter more than another personal attack. During quieter moments, attacking restores resources and contributes to protection instead of leaving the class idle.
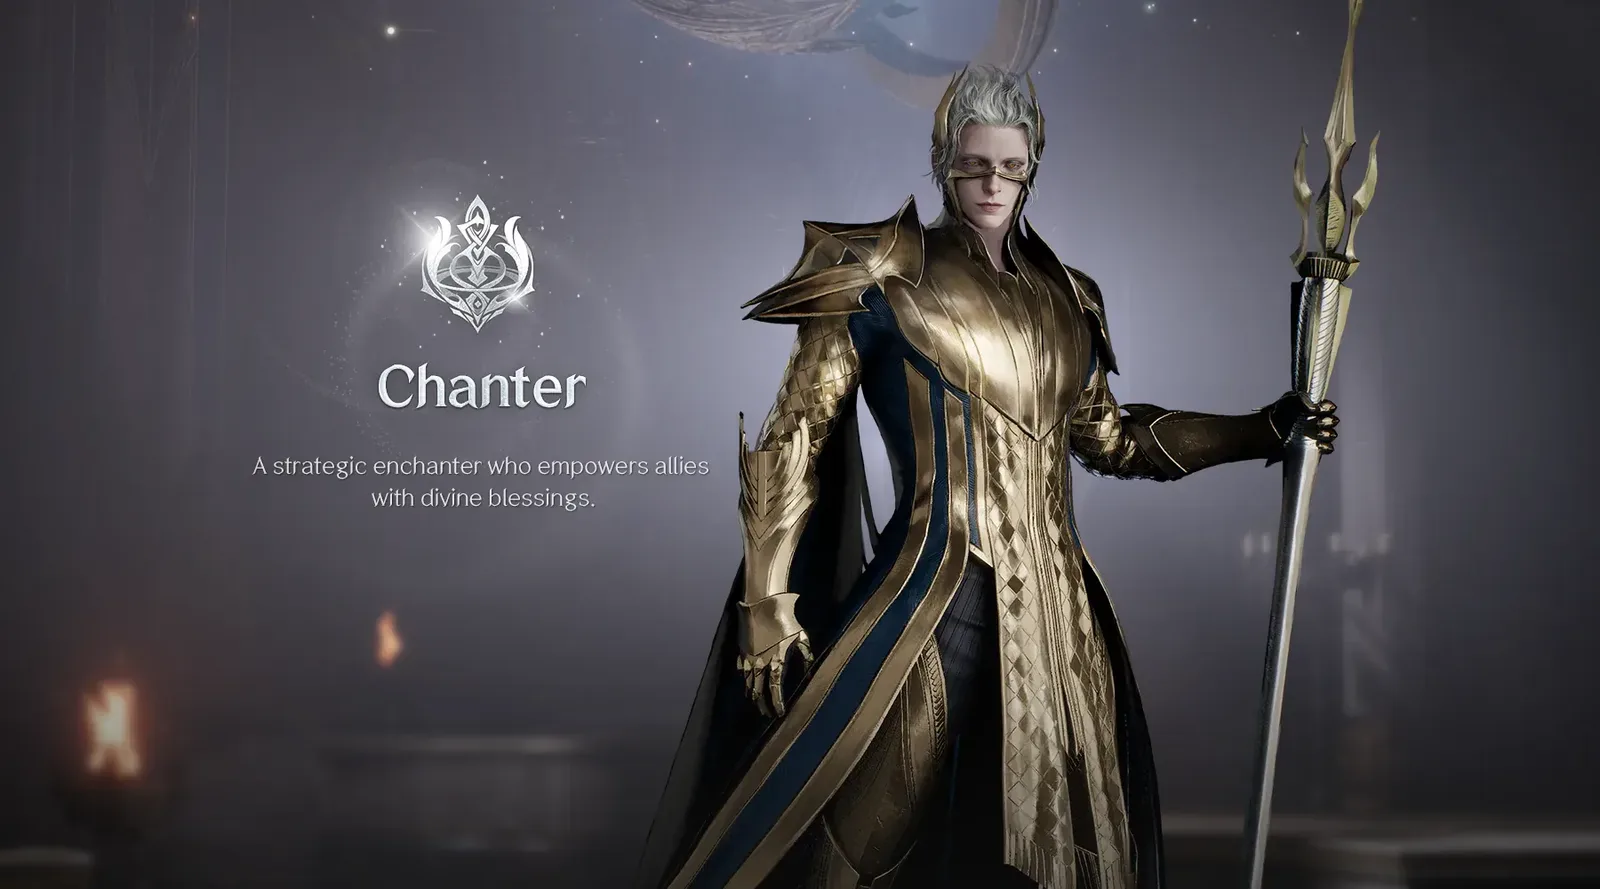
Chanter uses a staff and supports allies through blessings and protection.
The staff identifies the Chanter's class presentation, but weapon appearance alone does not explain the job. The distinguishing gameplay is the combination of continuous party effects and timed intervention. Learn those two rhythms separately before trying to perform every action at once.
Prepare Mantras before the pull
Once your Stigma access supports them, examine Undefeated Mantra and Sprint Mantra. Undefeated Mantra improves the caster's and nearby party members' damage and damage tolerance. Sprint Mantra contributes movement speed and attack-related recovery. They are toggle skills, so preparation includes checking that the relevant effect is active rather than assuming that placing it in a slot activated it.
Some guides call the movement effect Spirit Mantra. The skill listing used for the current Global description names it Sprint Mantra. Use the tooltip and effect on your own client when matching a translated guide to a skill. Do not buy, replace or upgrade an unrelated skill solely because an older guide uses a different English name.
Before an encounter, gather with the party, check your chosen toggles and confirm which support is covering overlapping effects. Do this while the tank is preparing rather than after enemies have already started dealing damage. When the group moves or spreads for a mechanic, remember that a nearby-party effect still requires the party to be in the relevant area.
Power of the Storm is a separate timed support action. It raises Combat Speed and reduces skill cooldowns for the caster and nearby allies. Reserve its timing for a useful attack opportunity rather than confusing it with a permanent Mantra. If the boss is about to become unreachable, a party speed window spent just before everyone disengages provides less practical value.
Use attacks to support protection and MP
Protection Circle connects successful attacks with party shielding. Attacks build its stacks, and reaching the required stack threshold grants a protective effect to the Chanter and party. This gives the class a reason to maintain contact during safe periods. It does not mean every attack immediately produces a shield or that you can guarantee protection while unable to reach the target.
Onslaught and Rushing Smash recover MP as part of their effects. Use those opportunities within the fight so that your resources remain available for later support actions. If you repeatedly reach an emergency without enough MP, inspect whether you spent the safe intervals only on expensive actions and ignored your recovery attacks.
A practical sequence is to enter a safe attack position, use your available resource-supporting attacks, then keep the target engaged while watching party health and the next mechanic. Break that sequence when movement or urgent recovery takes priority. A missed attack is preferable to being incapacitated when the group needs your barrier.
Do not chase stacks through a hazardous area merely because a passive shield is close to triggering. Attack-driven protection supplements deliberate defensive tools. It is not a reason to absorb avoidable damage or leave an ally outside the range of your next support action.
Shield before damage and heal after damage
Impending Authority provides a protective shield to the caster and nearby party members. Its best use is tied to an incoming event: a visible heavy attack, a known party damage phase or a moment when allies must remain committed. Casting it after the dangerous hit has already landed cannot absorb that completed hit.
Healing Touch serves a different purpose by restoring HP to the caster and party members. Recuperation combines immediate recovery, removal of a debuff and healing over time. These tools can help stabilize the group after damage rather than duplicating the job of a preemptive shield. Choose according to the problem currently visible: missing health, a harmful effect or an attack that has not yet landed.
For a repeated damage pattern, watch one cycle and separate its parts. Prepare a shield for the large hit, recover the health that remains missing, and keep enough attention on the next mechanic to avoid spending every tool simultaneously. The exact timing depends on the encounter; there is no universal opening that solves all damage patterns.
When a Cleric is present, communicate which player is covering the expected recovery. Two large responses to a minor hit can leave both supports less prepared for the next event. Conversely, waiting because you assume the other support is acting can leave allies exposed. A short agreement before the pull is more useful than competing over the same health deficit.
Treat Barrier Spell as a timed emergency tool
Barrier Spell temporarily prevents the caster's and nearby party members' HP from falling below its stated threshold. It has an explicit limitation: certain powerful attacks are not blocked. It also participates in restrictions on stacking invincibility-related effects. Therefore, it should never be described as permission to ignore every boss mechanic.
Use it when a dangerous situation is unfolding and the effect can actually protect the people involved. The window is short, so casting far ahead of the event can waste the protection. Casting after an ally has already fallen also fails to provide the intended rescue. Practice recognizing the damage event rather than memorizing a button order with no encounter context.
Coordinate it with the Gladiator's Tenaciousness or the Cleric's Salvation when those effects are present. Their interaction can restrict repeated protection. Do not plan a continuous chain of immunity by adding the displayed durations together. Read the active restrictions and give the group a movement or recovery plan for when the protection ends.
After an emergency barrier, your next decision remains important. Move out of danger, restore missing health where possible, and return to attacking when safe. The barrier creates a brief opportunity to recover control of the fight; it does not permanently fix poor positioning.
Use control to create a real opening
Impactful Crush can apply Stun, and Tremor Crush provides another stun opportunity with a movement condition. Dark Crush uses a target's eligible control state or an applicable special trigger. Wave Blow follows an eligible stunned target and can apply Knockdown. These conditions explain why a follow-up may be unavailable even though its cooldown is ready.
Against ordinary enemies, a successful stun can create a moment to attack or protect the party without the target continuing its previous action. Watch that the state actually lands before committing to a dependent follow-up. Against immune or resistant targets, do not promise the same control sequence that worked on a regular monster.
Obliterate adds Knockdown potential, Fracturing Blow reduces enemy Defense, and Ensnaring Mark can apply Seal. They solve different problems. A defense reduction helps concentrated damage, while Seal is about restricting skill use when it applies. Choose a tool because its effect fits the target and moment, not simply because all three are described as utility.
In group PvP, control can also protect an ally being pressured. Rather than pursuing an isolated opponent away from the group, consider whether stopping the enemy on your healer gives the party a better recovery window. Keep target immunity and resistance in mind; a control attempt is not a guaranteed interruption against every player.
Coordinate overlapping support effects
Undefeated Mantra's Damage Boost does not stack with the Cleric's Light of Protection. The higher skill-level effect takes precedence, with Undefeated Mantra taking priority when the relevant levels match. The presence of both icons or both classes should not be interpreted as doubling the benefit.
Earth's Promise and the Cleric's Chain of Torment also have a specified interaction affecting their damage-tolerance reduction. Power of the Storm has a compatibility restriction with the Cleric effect identified as Earth's Blessing. Because translated skill names and upgraded effects can differ, compare the actual descriptions in the group before making a slot decision.
The practical question is which useful effect your next choice adds. If another support already covers an overlapping bonus, an additional recovery, shielding or control option may address a different encounter need. That is an encounter decision rather than a claim that one support class makes the other unnecessary.
Tell the group when your important protection is unavailable. A tank preparing a large pull or an ally planning a committed damage window benefits from knowing whether the Chanter can cover it. Communication is especially helpful when the party separates, because you cannot assume every nearby-party effect reaches a distant player.
Review a failed attempt by responsibility
After a difficult fight, review one issue at a time. If allies died before your shield, focus on recognizing the attack earlier. If a barrier expired before the hit, refine its timing. If your follow-up stayed inactive, inspect the target condition. If MP was missing, look at the safe attack periods and resource-recovery actions.
For solo play, retain the same distinction between attack opportunity and defensive need. Chanter's recovery and control make it adaptable, but its support tools do not erase boss immunity or dangerous terrain. Learn a stable sequence against a familiar target before increasing the size of a pull.
For parties, judge improvement by how consistently you prepare effects, remain available to support and choose the right response. The class becomes easier to understand when each action has a clear job: Mantras prepare the group, attacks sustain participation, shields anticipate damage, recovery repairs it, and control creates breathing room when the target permits it.
Sources and verification
Reviewed for Global on October 10, 2026. The linked independent class guides inform the skill explanations. Check current Global tooltips and unlocked specializations before copying a build; the advice here is editorial and has not been benchmarked in game.